Every TPU print problem on a Bambu Lab printer comes down to friction. The extruder is small. The filament is soft. Any extra resistance along the path — AMS feeders, PTFE tubes, a spool that does not turn freely, moisture in the filament — compresses the TPU before the extruder can push it down. The print under-extrudes, the nozzle clicks, the layer skips. The slicer is rarely the problem; the filament path is.
This guide covers the rules that apply to every Bambu printer (A1 Mini, A1, P1P, P1S, X1C, X1E, H2D, H2S, H2C). The A1 has one extra hardware step that deserves its own page; we link to it at the bottom.
Step 1 — Remove the AMS for TPU prints
The AMS (or AMS Lite on the A1) is the friction multiplier you do not see. Each filament goes through an internal feeder, a curved PTFE tube, the multi-material switching head, and another PTFE tube to the toolhead. On rigid filament the resistance is invisible. On soft TPU it is enough to compress the filament against itself and stall the extruder.
Even if you only have one filament loaded, run TPU prints with the AMS bypassed and the spool sitting on an external holder. On the A1 / A1 Mini, this means removing the AMS Lite entirely or unloading it for the duration of the print.
Step 2 — Bypass the PTFE tube
The PTFE between the spool/AMS and the extruder is the single largest source of friction on flexible filaments. The tube adds drag along its inner walls; curves multiply it. The simplest setup: spool sitting just above the printer, filament going straight into the extruder with no tube between them.
If the layout of your room or printer enclosure requires some PTFE, keep it as short and as straight as possible. A 30 cm straight PTFE run is fine. A 1 m curved PTFE run will stall the print on soft TPU.
Step 3 — Use a low-friction spool holder
A spool on a fixed shaft drags. A spool on free-spinning bearings does not. The community-favorite TPU spool holder is the Sunlu filament dryer: two rollers under the spool that turn freely. Even without the heater on, it gives the printer a frictionless source. As a bonus, when you do need to dry the filament, the same unit becomes the dryer.
If you do not own a dryer, the cheapest low-friction option is a roll of skate bearings on a wooden dowel, or a printed spool holder with bearings (search MakerWorld for "low friction spool holder" — many exist).
Step 4 — Dry TPU before printing, keep it dry
TPU absorbs moisture from the air faster than PLA. The symptoms of wet TPU are unmistakable: audible "popping" during printing, visible bubbles in the extrusion, stringing, and a rough surface. Drying at 50°C for 4-6 hours before the first print of a new spool fixes most of this. If the spool sits in a dry environment afterwards it usually stays dry for a week or two, but in humid climates run the dryer continuously.
Step 5 (A1 only) — Upgraded extruder lever
The A1 is the only Bambu printer with a single-driven extruder: one toothed wheel grips the filament, the other is a smooth idler that pushes it against the toothed wheel. On soft TPU the idler slides instead of pinching, and the toothed wheel cannot pull the filament down. A printed lever upgrade fixes this by reducing the gap between the two wheels.
Detailed install + slicer settings: How to print TPU on Bambu A1 (full A1-specific guide with the MakerWorld lever model and the slicer profile we use).
Slicer settings (Bambu Studio)
With the hardware sorted, here is the actual River workflow:
Profile. Start from the Bambu Studio TPU profile for your printer, then adjust below. Don't try to hack a PLA profile.
Speed. Low. Target around 2.5 mm³/s volumetric flow on outer walls — well below the stock defaults. Faster speeds under-extrude soft TPU. Infill can run faster since visual quality there matters less.
Retraction. 2 mm retraction with 1.2 mm Z-hop. Short retraction (0.5 mm) causes oozing on TPU shoes; the longer pull plus Z-hop gives cleaner perimeters and avoids the nozzle dragging through soft layers.
Cooling. 30-40% fan. Higher reduces layer bonding; lower causes overhangs to sag.
Bed temp. 0 °C (off). TPU sticks to the textured PEI plate without bed heat once first-layer adhesion is dialed in. Saves significant power on 10+ hour prints.
Line width + layer height. Per design. Tora: 0.6 mm / 0.2 mm. G1: 1.0 mm / 0.28 mm. Onda + every Grasshopper-generated design: 0.65 mm / 0.24 mm. Each design's profile is on its page.
Test the setup with a real print
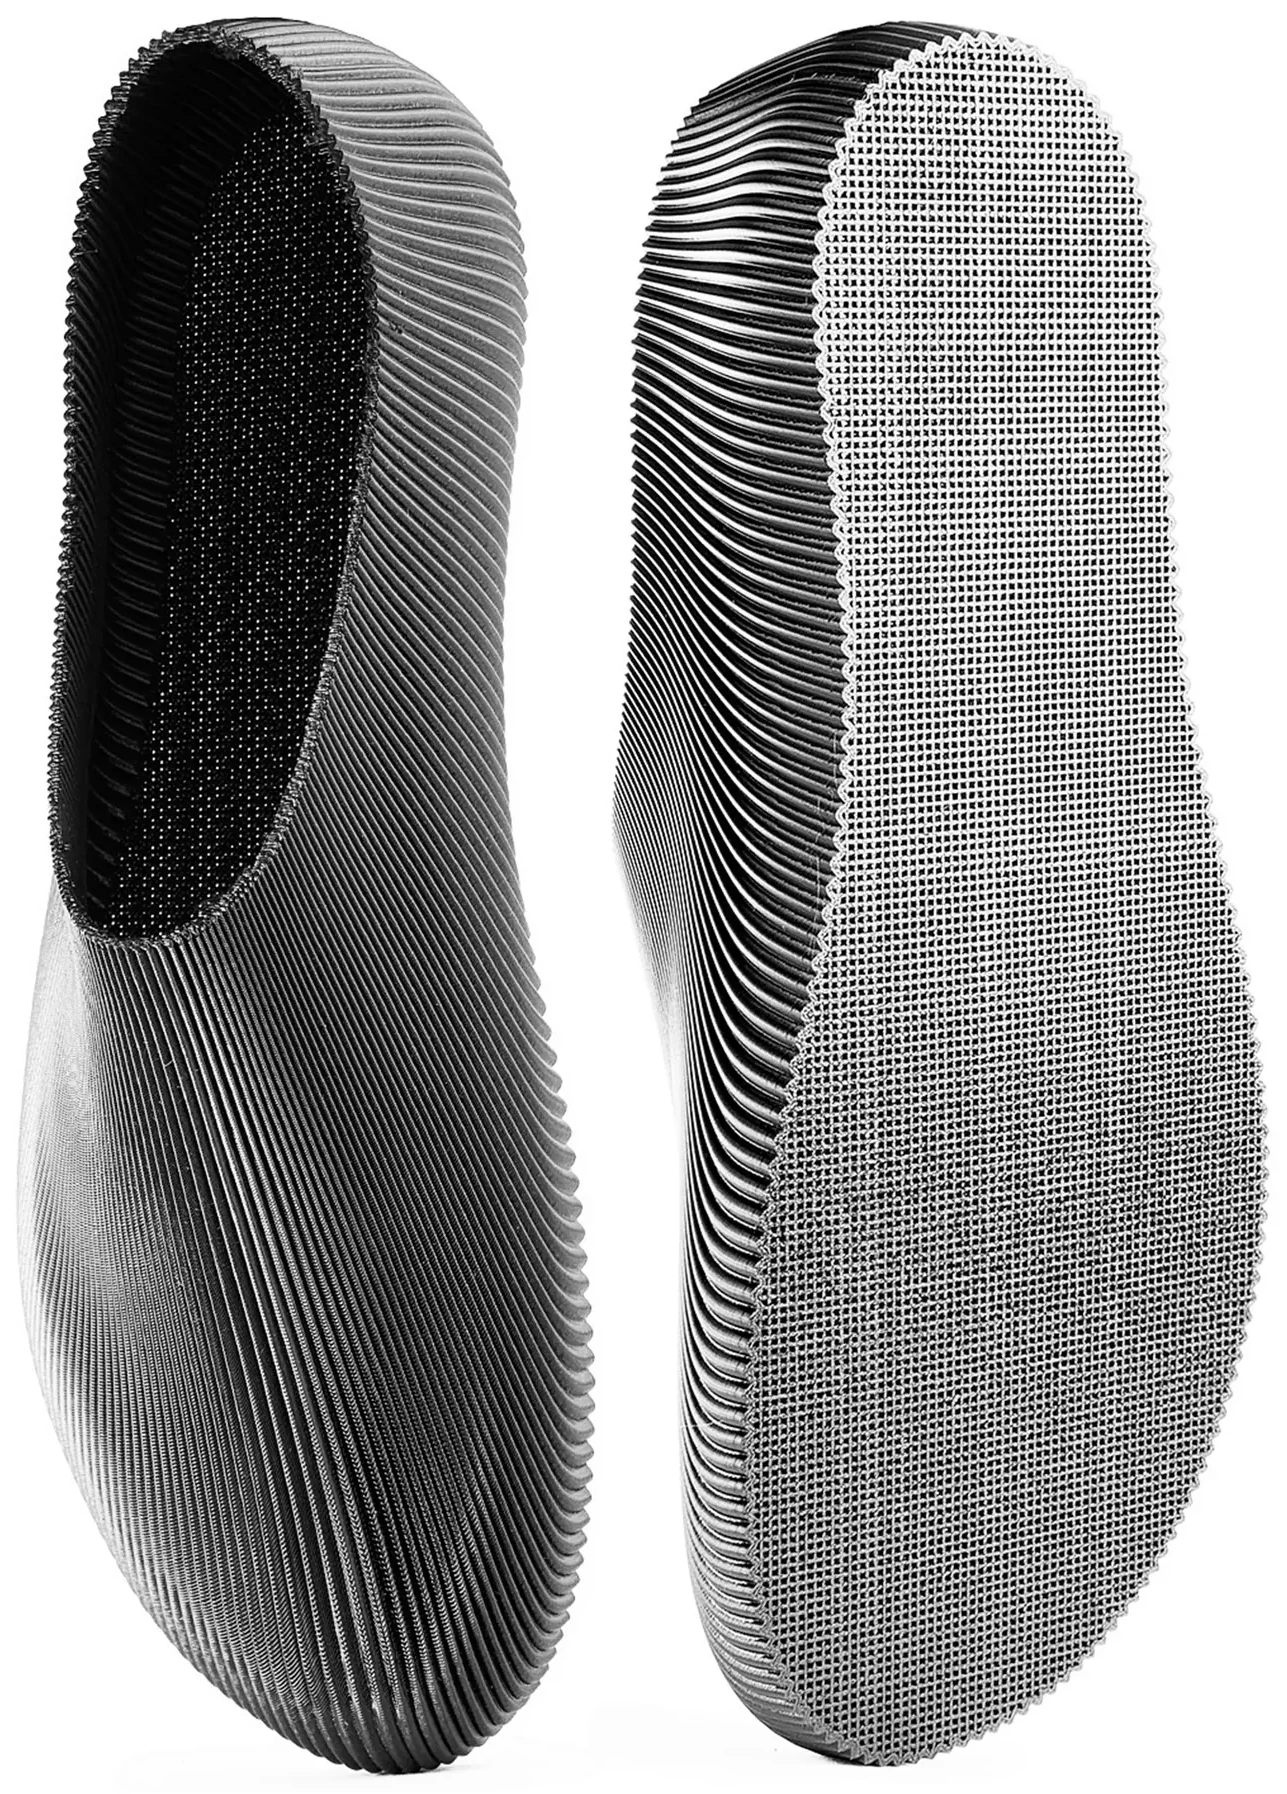
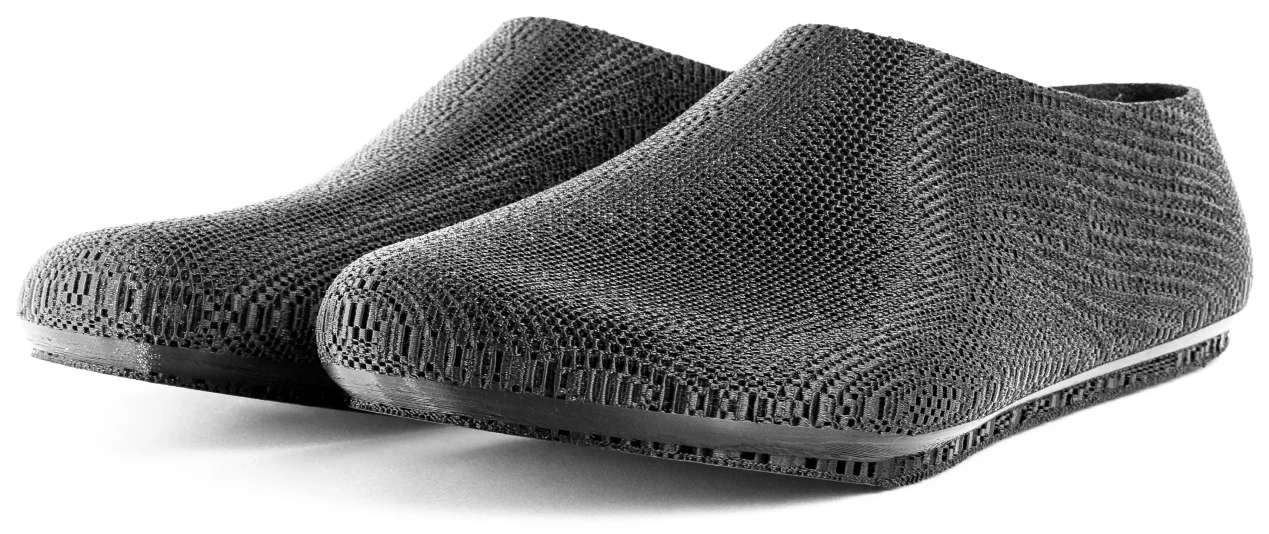
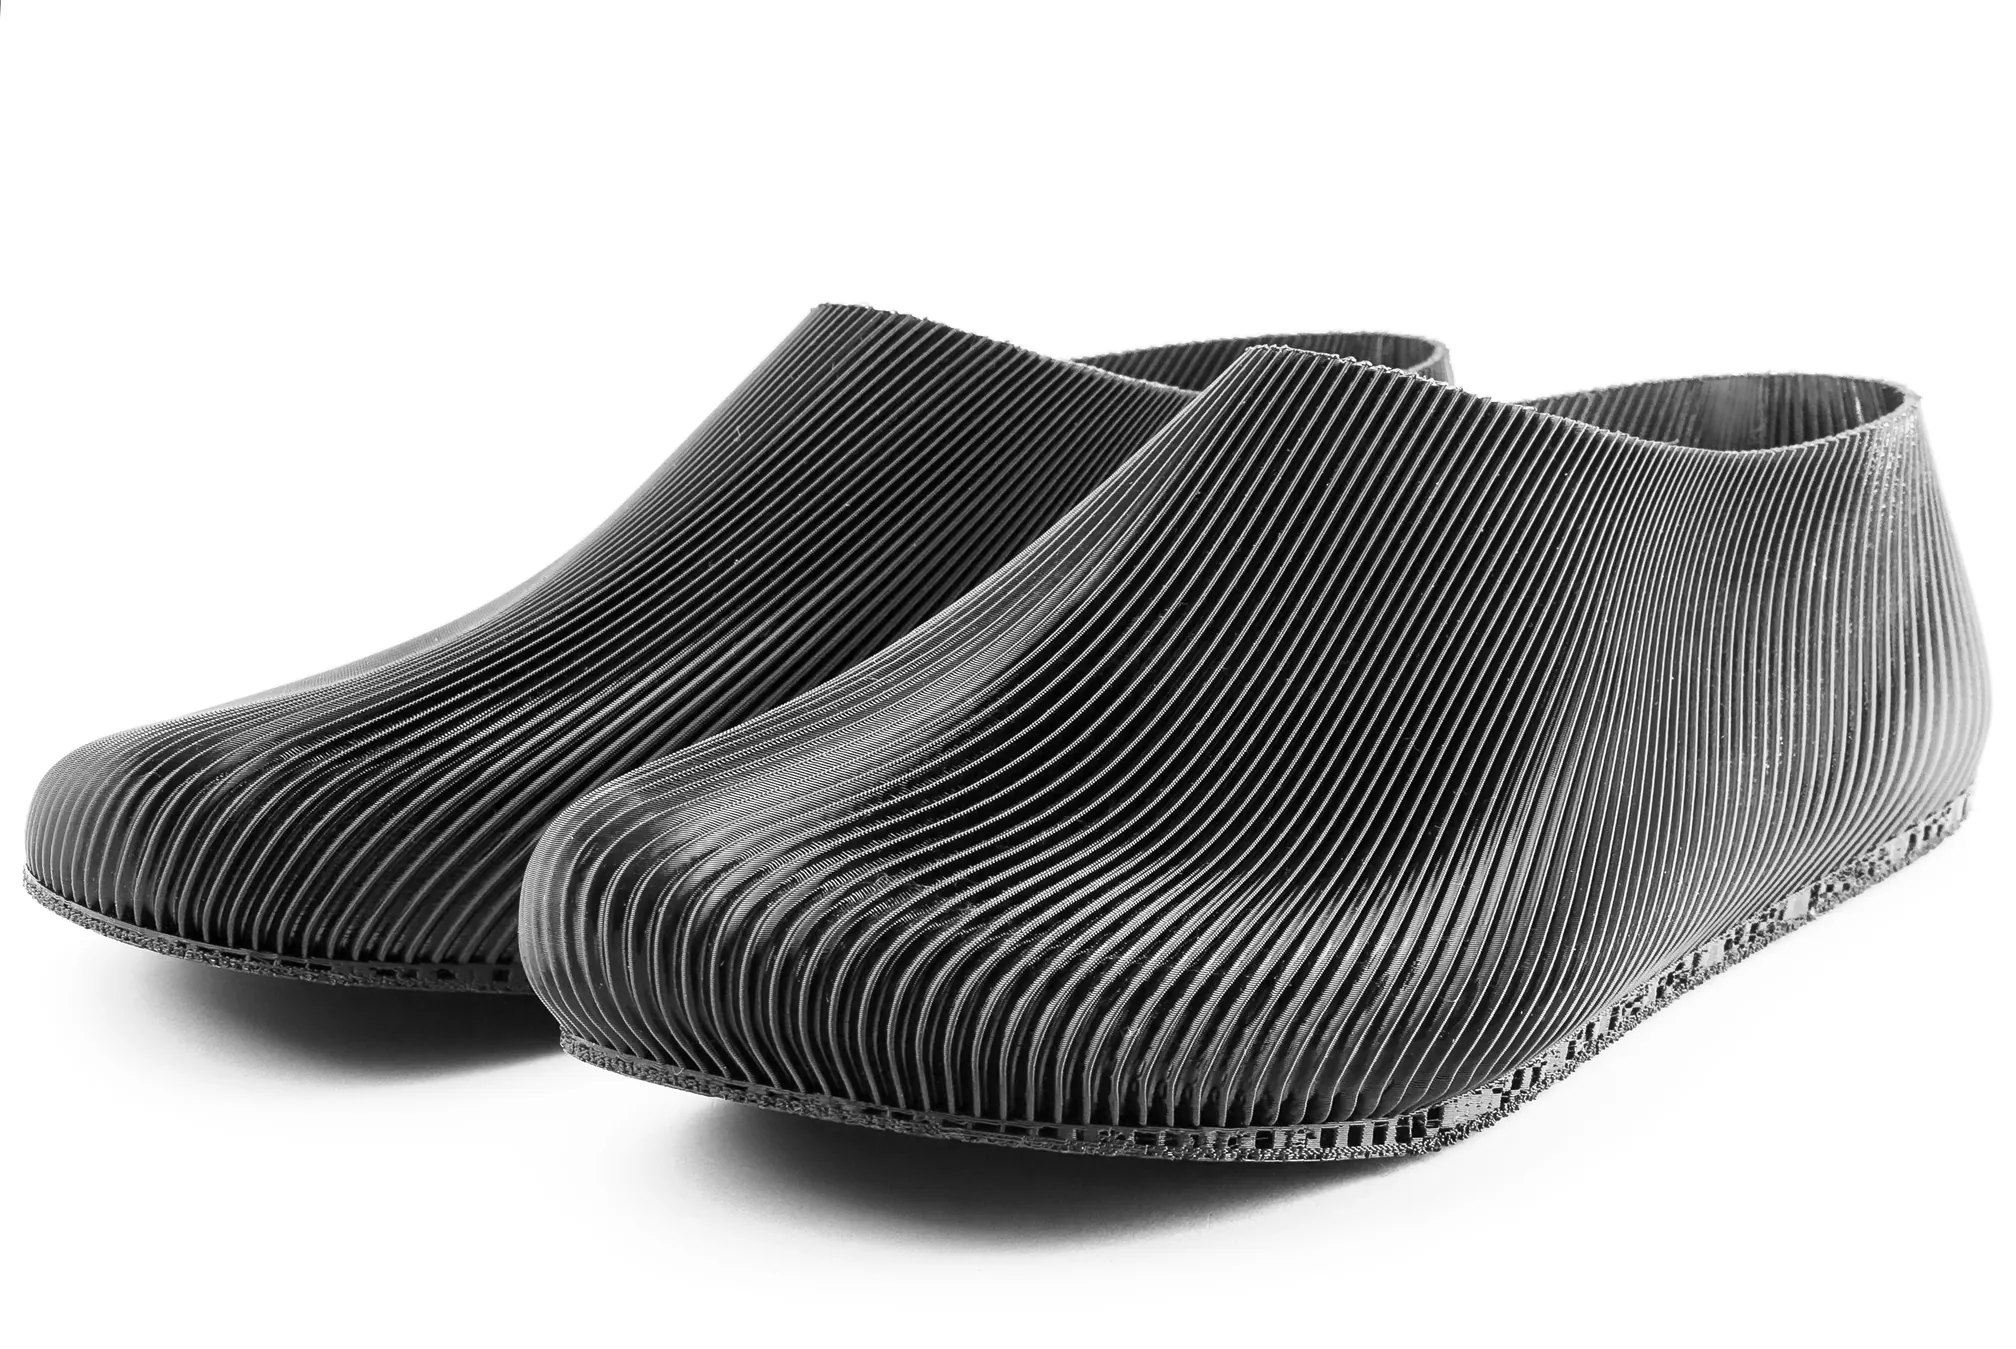
Once the path is friction-free and the filament is dry, the most satisfying first print is a wearable one. Our barefoot TPU shoes use exactly the workflow described above, with verified maker prints from A1 Mini all the way to H2D in the MakerWorld review section:
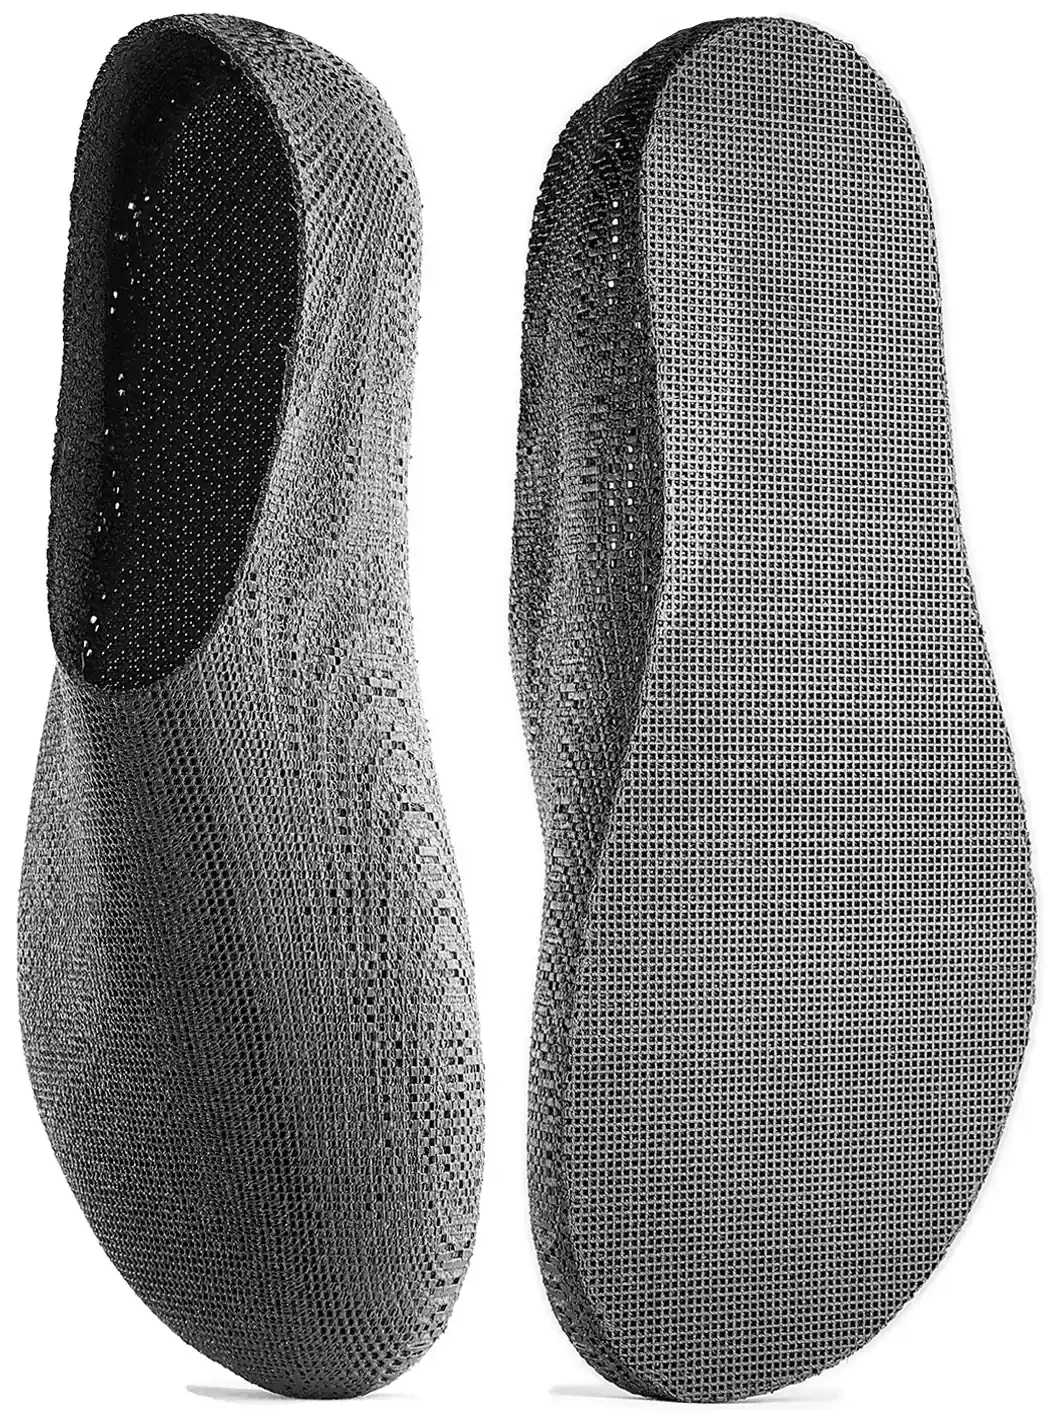
Tora — the easiest first TPU print
The flat-bottom barefoot shoe. Simple geometry, small-grid pattern, stable Bambu profile across A1, A1 Mini, P1S, X1C, H2D. Print one in 85A or 95A TPU.
View ToraLooking for a step up in geometry? See our guide to the best printable shoes (Tora, Taka, Waveform, CityStep, XAV01). For the broader material picture — 82A vs 95A, brand differences and when softer TPU pays off — see TPU for 3D printed shoes.