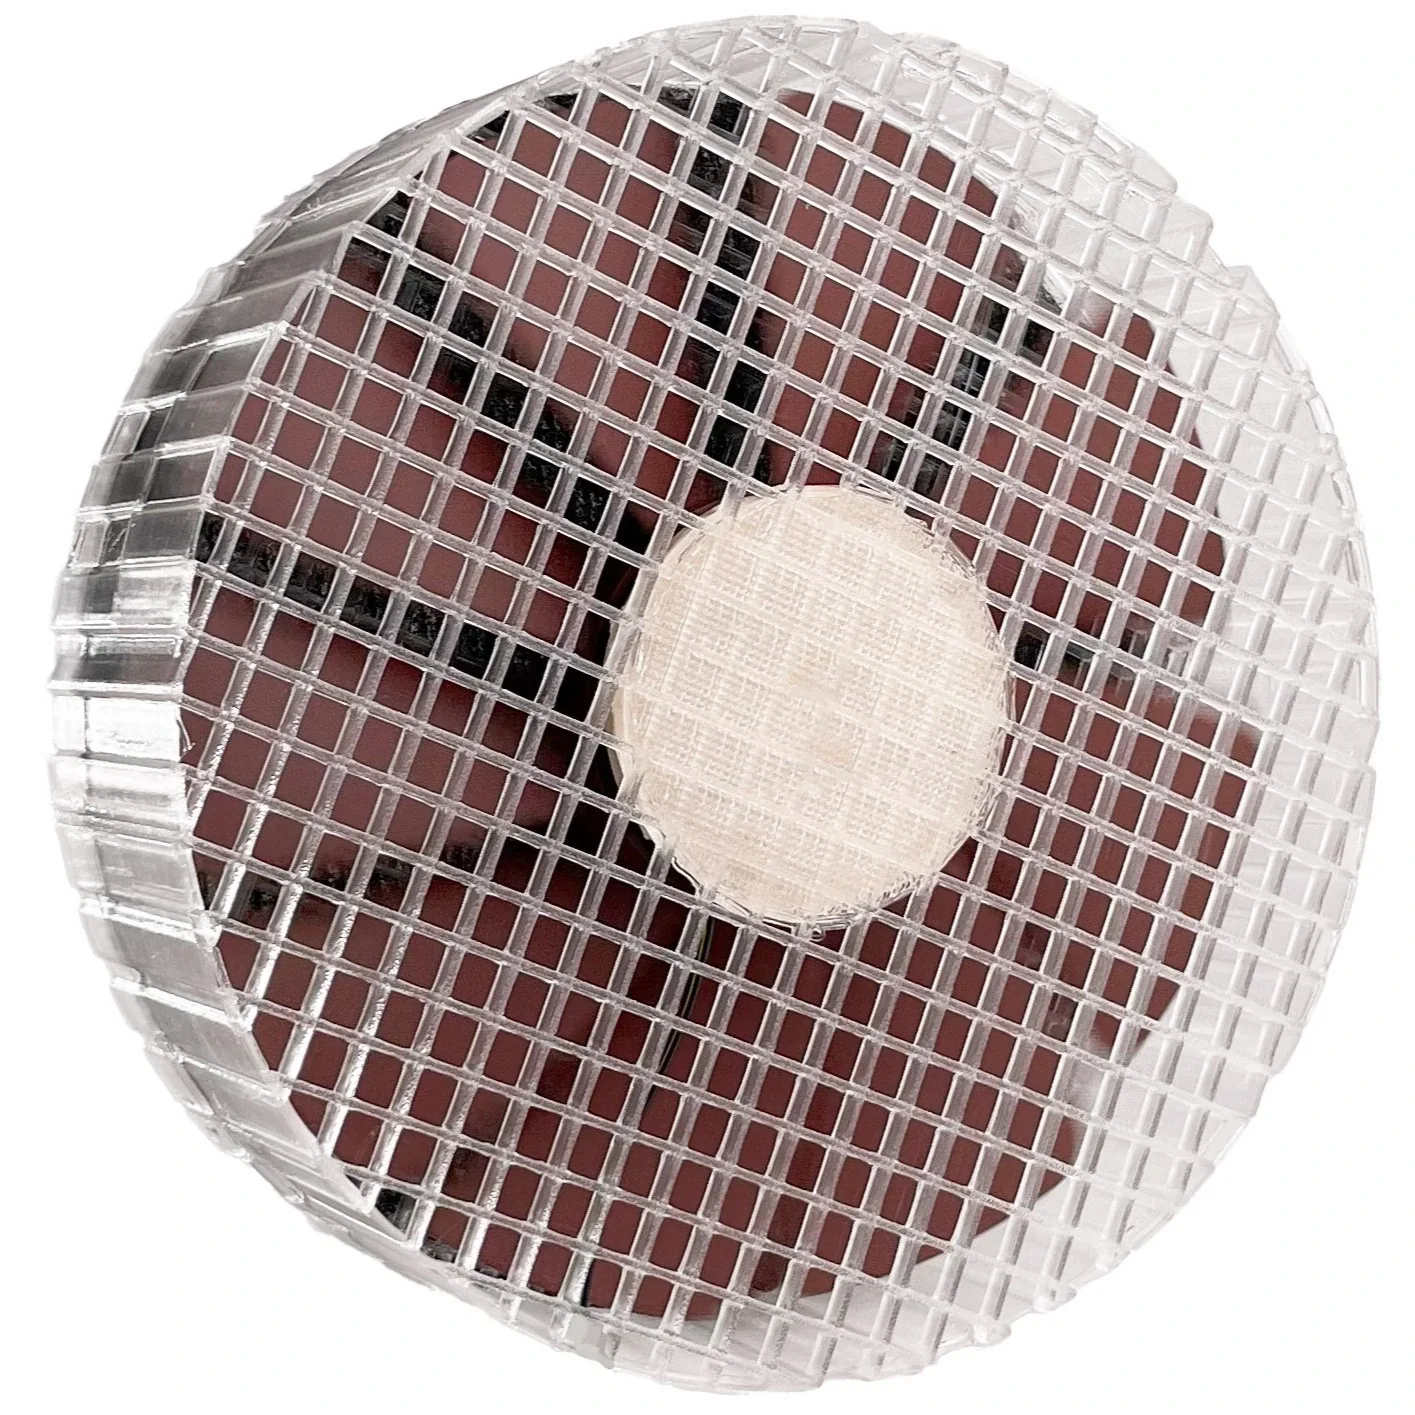
River purifiers and desk fans don't print like normal objects. Every body is built so that the fan ends up embedded inside the printed shell — not screwed on, not glued, not held with brackets. To get there, the slicer has to do three things most slicer profiles never do: pause mid-print to let you drop the fan in, bridge 20 mm or more of empty space without sagging, and treat the entire body as porous grid infill so air can actually pass through. The article walks through each of those.
Mid-print pauses to embed the fan
The trick that makes River fan bodies look mono-material: the printer stops half-way through the print, you drop the fan into the cavity that has just finished printing, and the print resumes — building the rest of the body directly above and around the fan. Yomi, Eno, Dome and Haze all use this exact technique.
On Yomi and Dome there is a single pause: the front face prints first, the print pauses, the fan goes in, then the rest of the dome or cylinder closes over the back. Eno needs two pauses — one at mid-height to insert the fan, and one near the top to drop in the activated carbon before the lid closes over it. Both pauses are written directly in the G-code as machine codes (Bambu Studio supports this via the "Pause" object option per layer), so the printer stops automatically and waits for you to confirm before continuing.
For the fan attachment, two approaches coexist in the lineup. Most designs (Yomi, Eno, Roy in some variants, Yuki) ask you to cut away the fan's original plastic frame and stick the fan's central hub to the printed body with double-sided tape — the hub is flat and rigid so the bond is stable. Max and Dado go the opposite way: the printed shell clicks onto the fan's stock frame, no cutting required. Faster to assemble, slightly bulkier result.
The 20 mm+ bridging
Once the fan is inside the body, the print has to close back over it — and that means bridging a span of 20 mm or more in mid-air, with no supports. PLA is the only filament we use for the bodies precisely because PLA bridges cleaner than PETG, ABS or TPU at this scale.
Yomi has one mega-bridge — the layer where the cylinder closes over the fan. Eno has two: one at mid-height (above the fan, before the carbon zone) and one near the top (above the carbon, before the lid). On a 200 mm wide body these are unsupported stretches of 20-25 mm, and the only thing that makes them work cleanly is the slicer settings underneath.
Roy and Eno: 0.6 mm layer height, 1.2 mm line width
This is the setting that surprises most people. Roy and Eno are sliced with a 0.6 mm nozzle, 0.6 mm layer height and 1.2 mm line width. That is roughly twice the line width and three times the layer height of a default Bambu Studio profile. The reasoning is mechanical: thick extruded lines stay rigid across a long bridge; thin lines droop under their own weight before they have time to cool.
The trade-off is surface finish — at 0.6 mm layer height the print is visibly stepped if you put your face close. From normal viewing distance it looks like the design wants it: chunky, deliberate, machine-honest. And the print speed is dramatically higher than the same body at 0.2 mm layers; a 200 mm Roy or Eno body comes off the plate in 8-12 hours instead of 24-30.
On smaller bodies (Max, Dado, Dome) you can stay with a 0.4 mm nozzle and standard layer heights — they don't have the same long bridges so the lines can be thinner without risk.
Grid infill, zero walls — the air-permeable shell
The third thing that makes these prints unusual: the body has no outer walls. The shell is literally the infill pattern — a grid (Roy, Ali, Evo) or rotated zig-zag (Yomi, Eno) generated by the slicer as if it were filling an empty volume, with the wall count set to zero. The result is a printed object that is structurally rigid (the grid braces itself) but fully air-permeable: room air passes through the structure without going around it.
Setting this in the slicer means treating the whole body as one infill volume. In Bambu Studio: set wall loops to 0, top and bottom shells to 0, and pick the infill pattern + density that gives the airflow profile you want. Higher density (25-35%) gives a slightly slower airflow but better filtration; lower density (15-20%) lets more air through but the body feels more sparse. Roy uses around 30% grid; Eno uses 25% rotated zig-zag.
Designs that use this workflow
Every purifier in the River line uses some combination of these three techniques. Start with the one that matches your fan and the room:
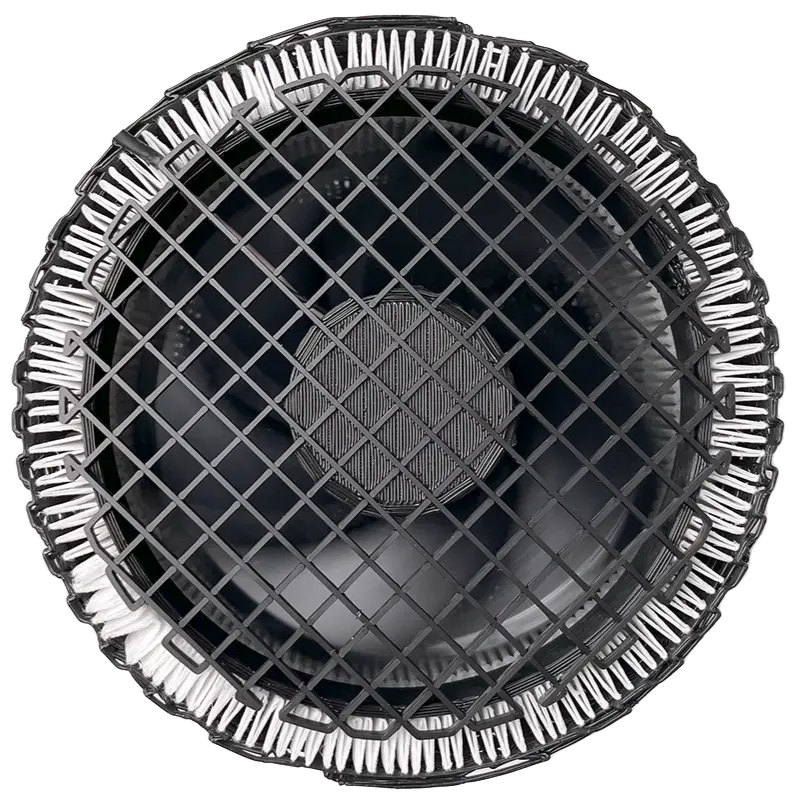
Roy — start here
120 mm fan, dual-intake (side + bottom), ~60 m³/h. 0.6 mm nozzle, 0.6 mm layers, 1.2 mm line width. One mid-print pause to drop the fan in. The clearest fan-and-filter build in the line.
View Roy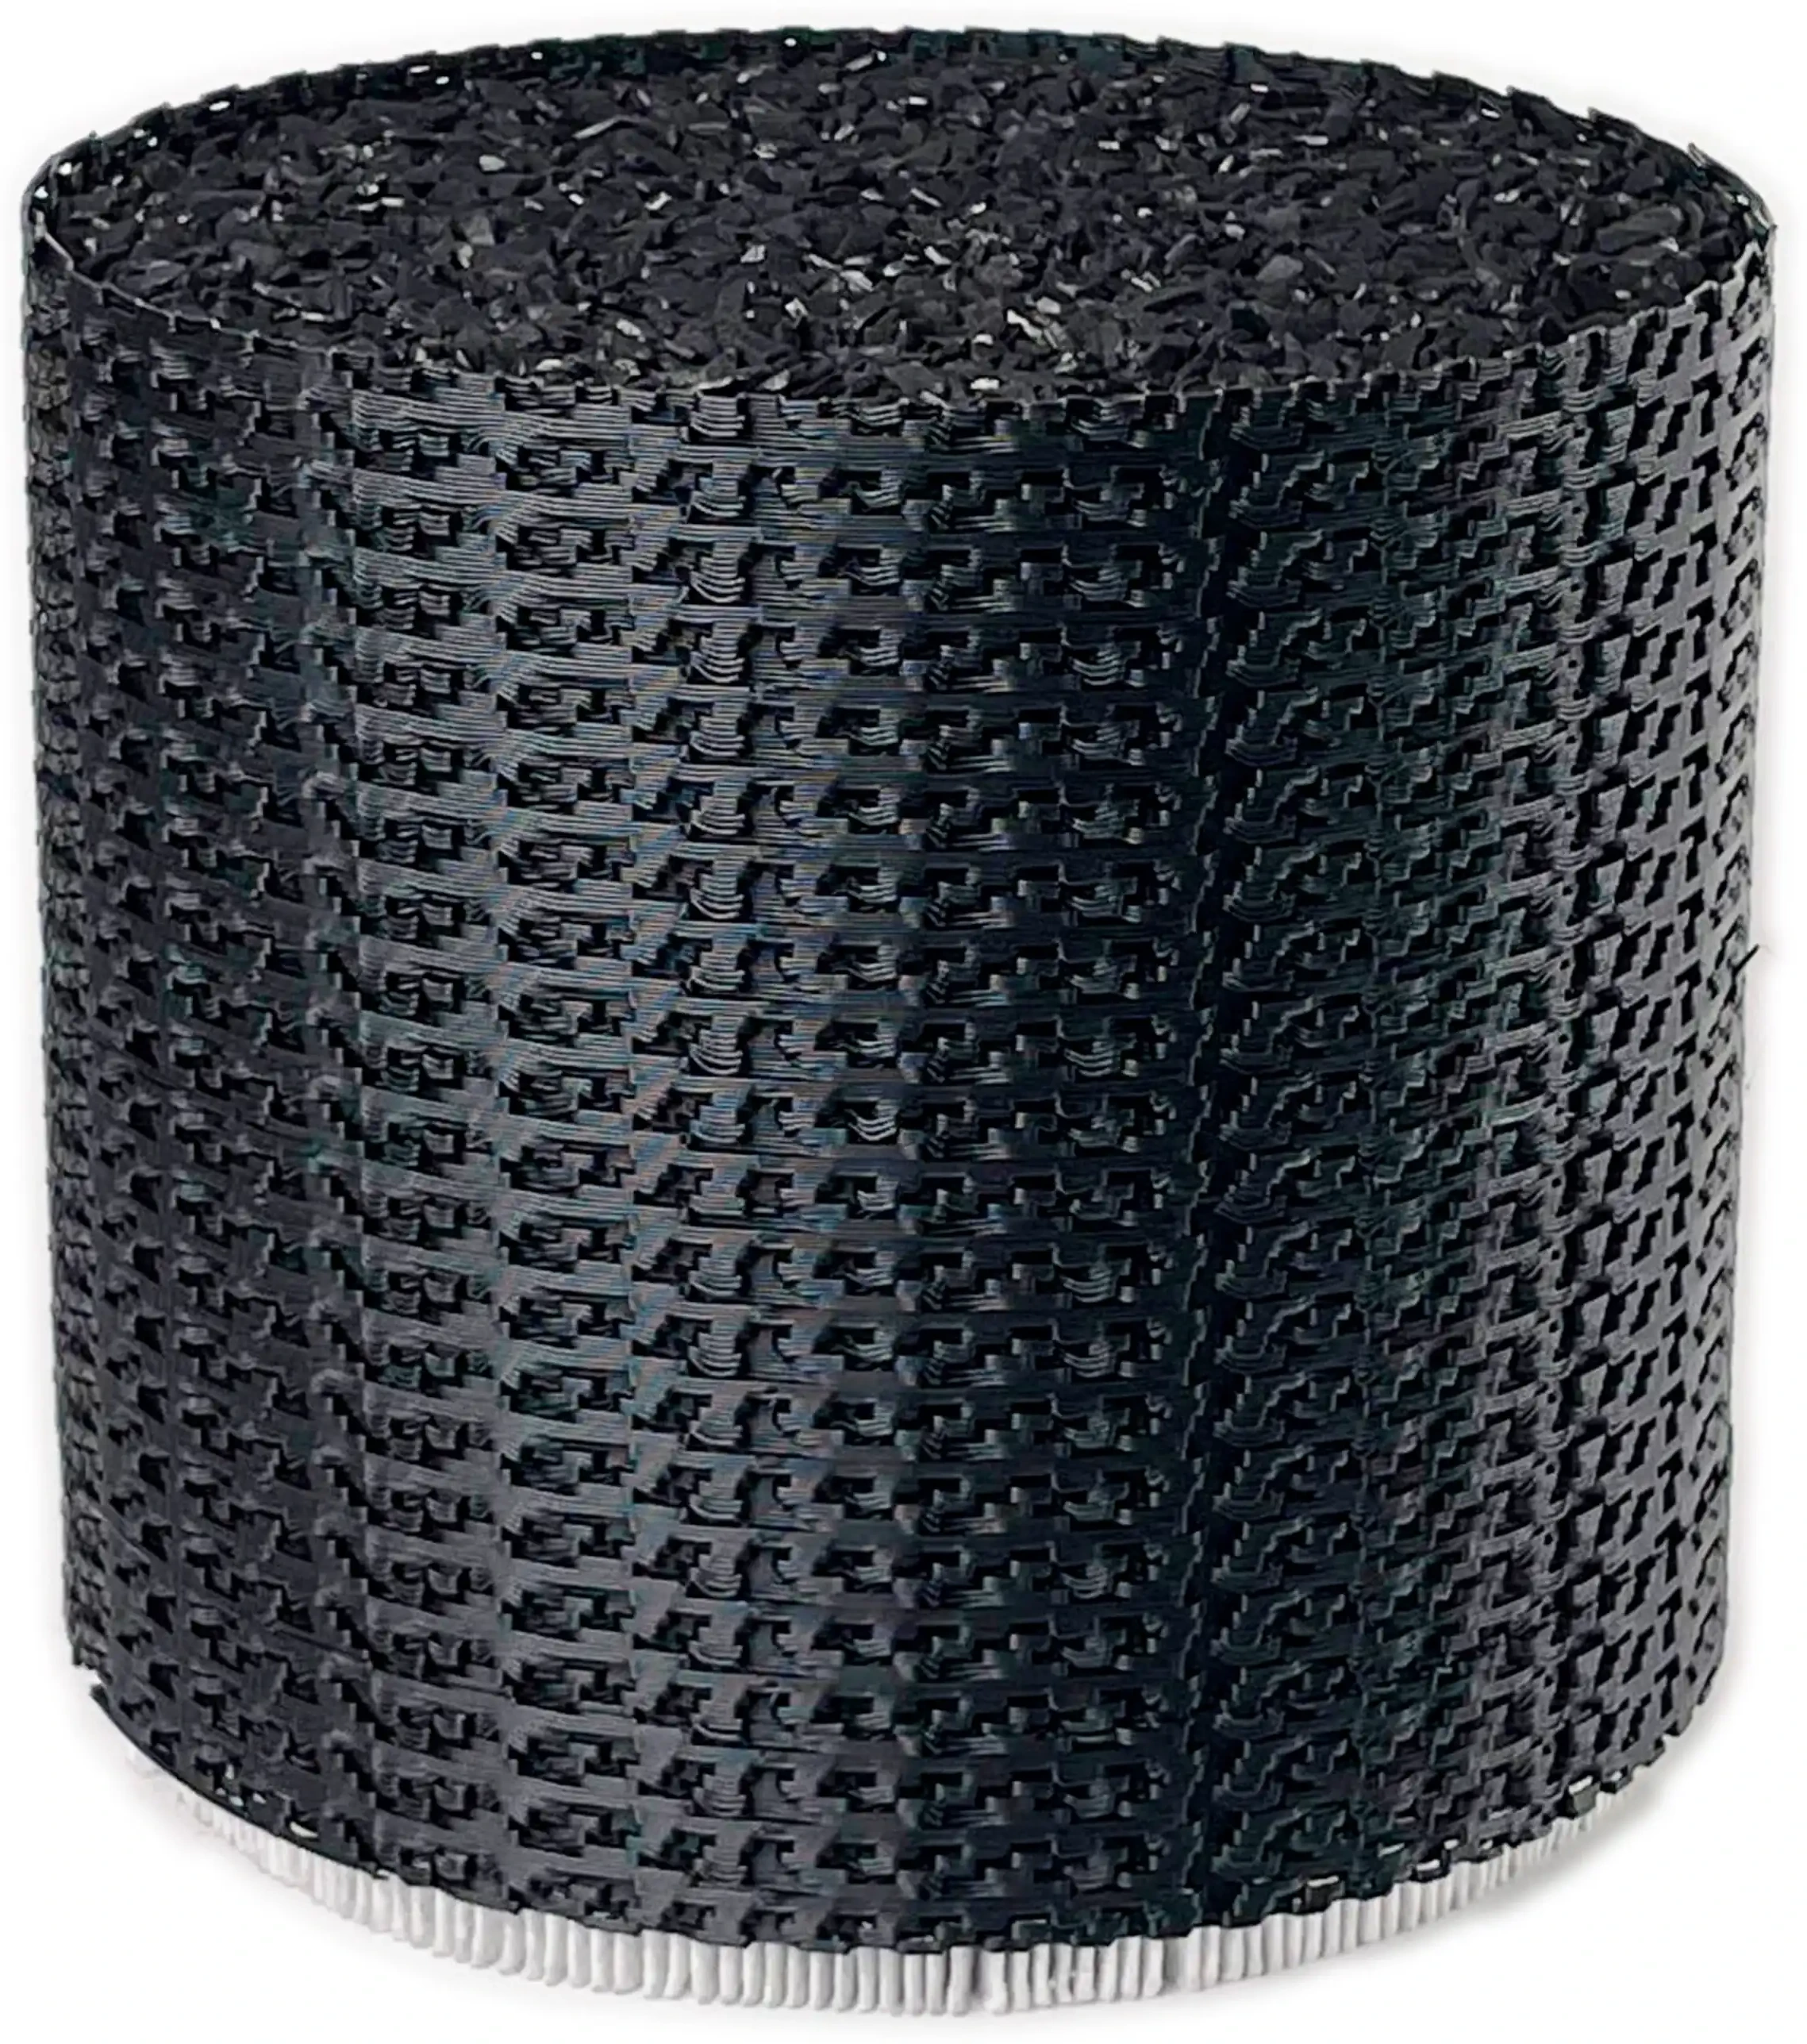
Eno — HEPA + activated carbon
200 mm fan, layered stack with activated carbon on top and HEPA on the lower side surfaces. Two mid-print pauses, two mega-bridges, same 0.6 mm / 1.2 mm settings as Roy. River's largest vertical body.
View Eno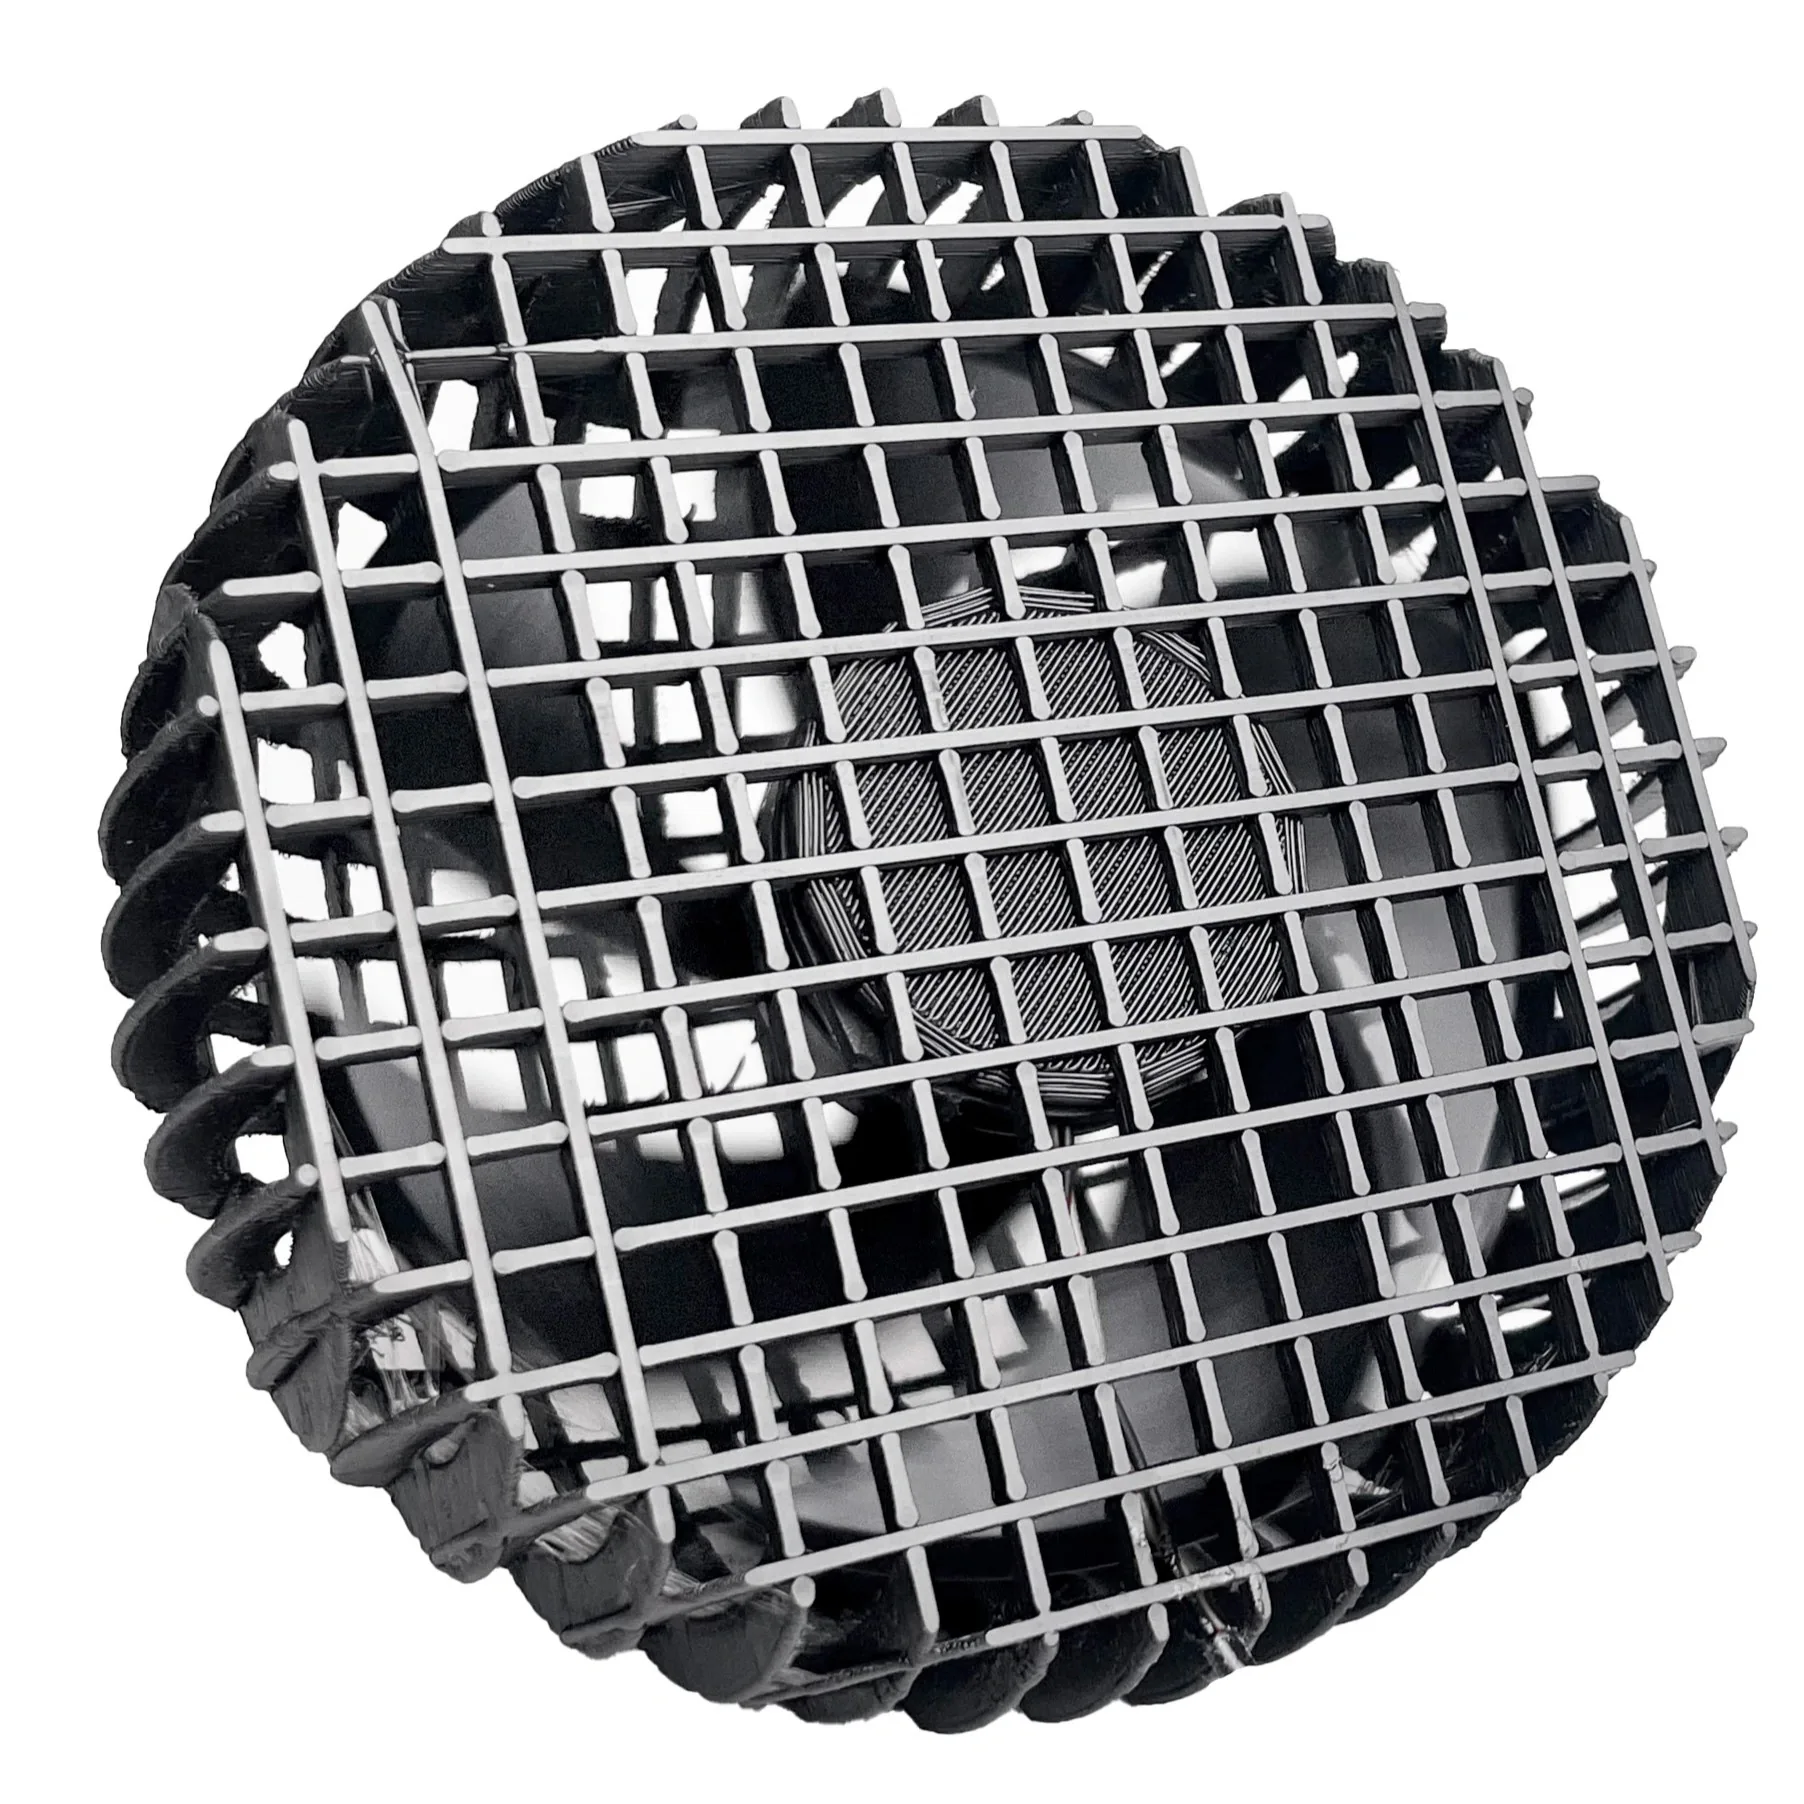
Dome — desk fan with mid-print embed
The simplest version of the technique. Print the front face down, pause, attach the fan to its central hub, resume — the dome closes over the back with grid infill and no walls.
View DomeFor the comparison between every River purifier — fan sizes, intake surfaces, expected airflow — see our guide to choosing a River purifier. For the underlying filter logic (HEPA vs activated carbon, what each one removes), see HEPA or activated carbon.